If you’re recording content, editing, writing, researching, or more, you will inevitably have to share files with others further down the content creation pipeline.
As such, we have a cloud, an online space where users can upload and store files for others to access.
- Method 1 - Uploading files directly
- Method 2 - Uploading files to a specific location
- Method 3 - Uploading files using the Nextcloud Desktop App
The cloud can be found at https://cloud.no-bs.ca.
This guide will cover three ways to upload files, starting from the simplest way, to the most technical but most organized way.
This guide is also subject to change - If you have an issue or a question, comment on this thread or send @gianni a message on this forum or on Discord. Updates to the guide will be made promptly based on your feedback.
Prelude: Registering an account or signing in
In order to use the cloud, you must have an account registered with the Unsprawling Forum.
Method 1 - Uploading files directly
After logging into https://cloud.no-bs.ca, you should see a row of icons, or tabs, at the top of the webpage. On this row, select the “Deck” tab.

This will open a new page:
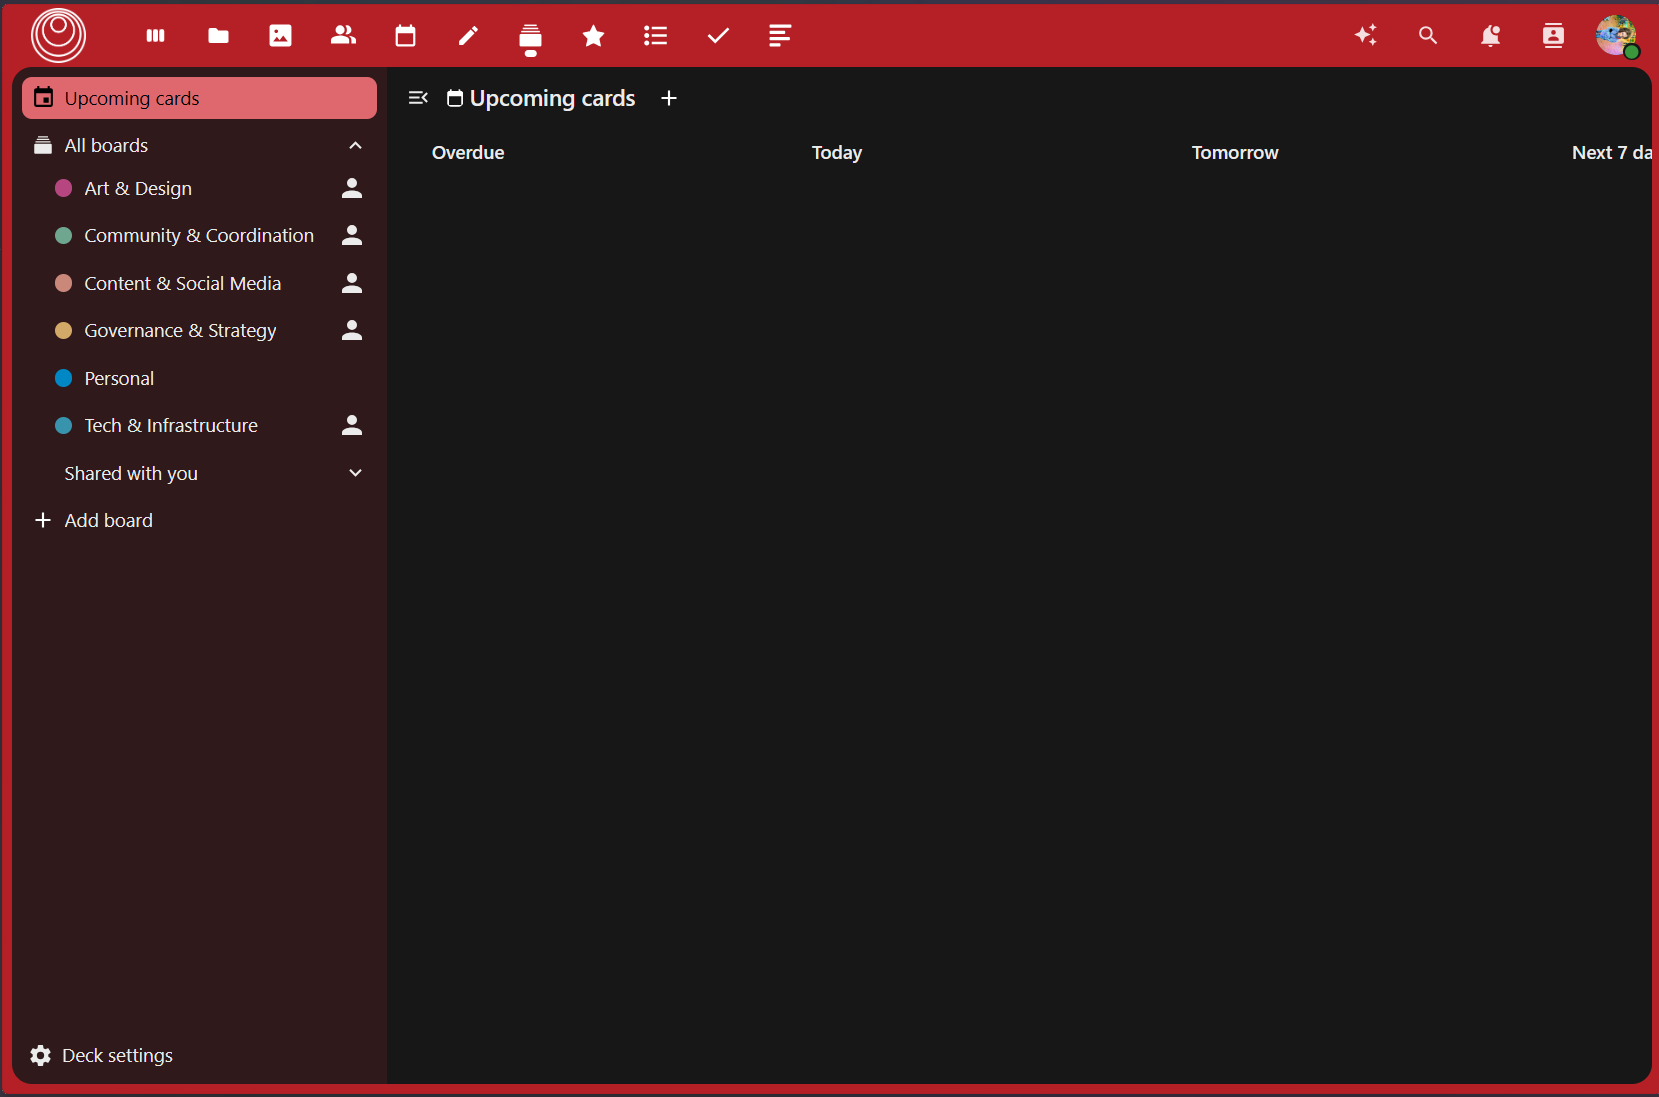
As you can see, on the left side of the page, there is a list of “boards” to choose from - one board for each committee, and a personal board. For most content-related things, select the "Content & Social Media’ board.

Each board can be treated like a bulletin board. For every project, initiative, and resource, a card is added to the board that can contain things like text, to-do lists, assignees, and most importantly for us, files.
Moreover, the cards are organized by where they are in the content-creation pipeline. Projects which are being written will be under the “Writing” column, projects being recorded will be under the “Recording” column, etc.
If the project which you’d like to attach a file to has a card on the board, simply click it to open the card - otherwise, create a new card using the icon next to the column that you wish to add the card to. For example, if you wanted to add a video which you just finished recording, click the “rectangle-with-a-plus-sign” icon to the right of the “Recording” column to add your card.

Once the card is selected, The following pop-up will appear:

Open the “Attachments” tab:

Next, select “Upload new files.” A pop-up from your device should appear, where you can find the specific file or folder which you want to upload.
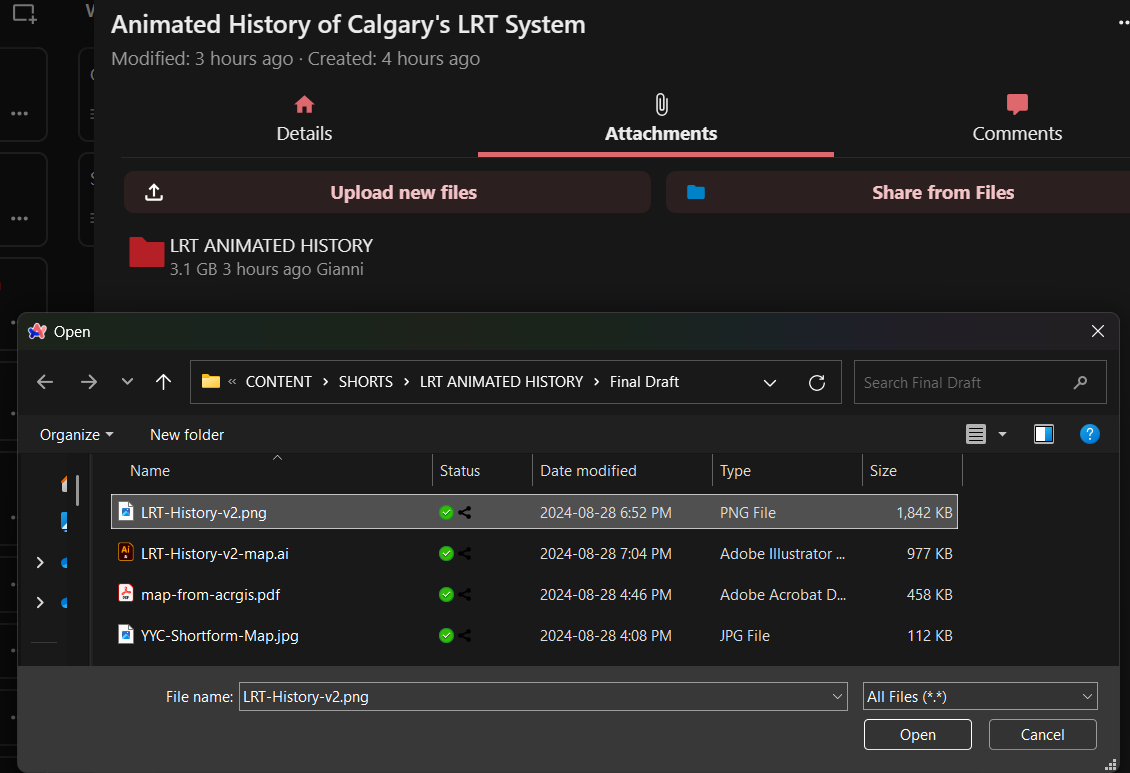
Once you hit “Open,” your file should appear under the attachments tab!
(For the more technically savvy, these uploaded files are saved under ROOT/Deck/<card name>.)
You have successfully uploaded a file to the cloud!
Method 2 - Uploading files to a specific location
After logging into https://cloud.no-bs.ca, you should see a row of icons, or tabs, at the top of the webpage. On this row, select the “Files” tab.
This will open a new page:
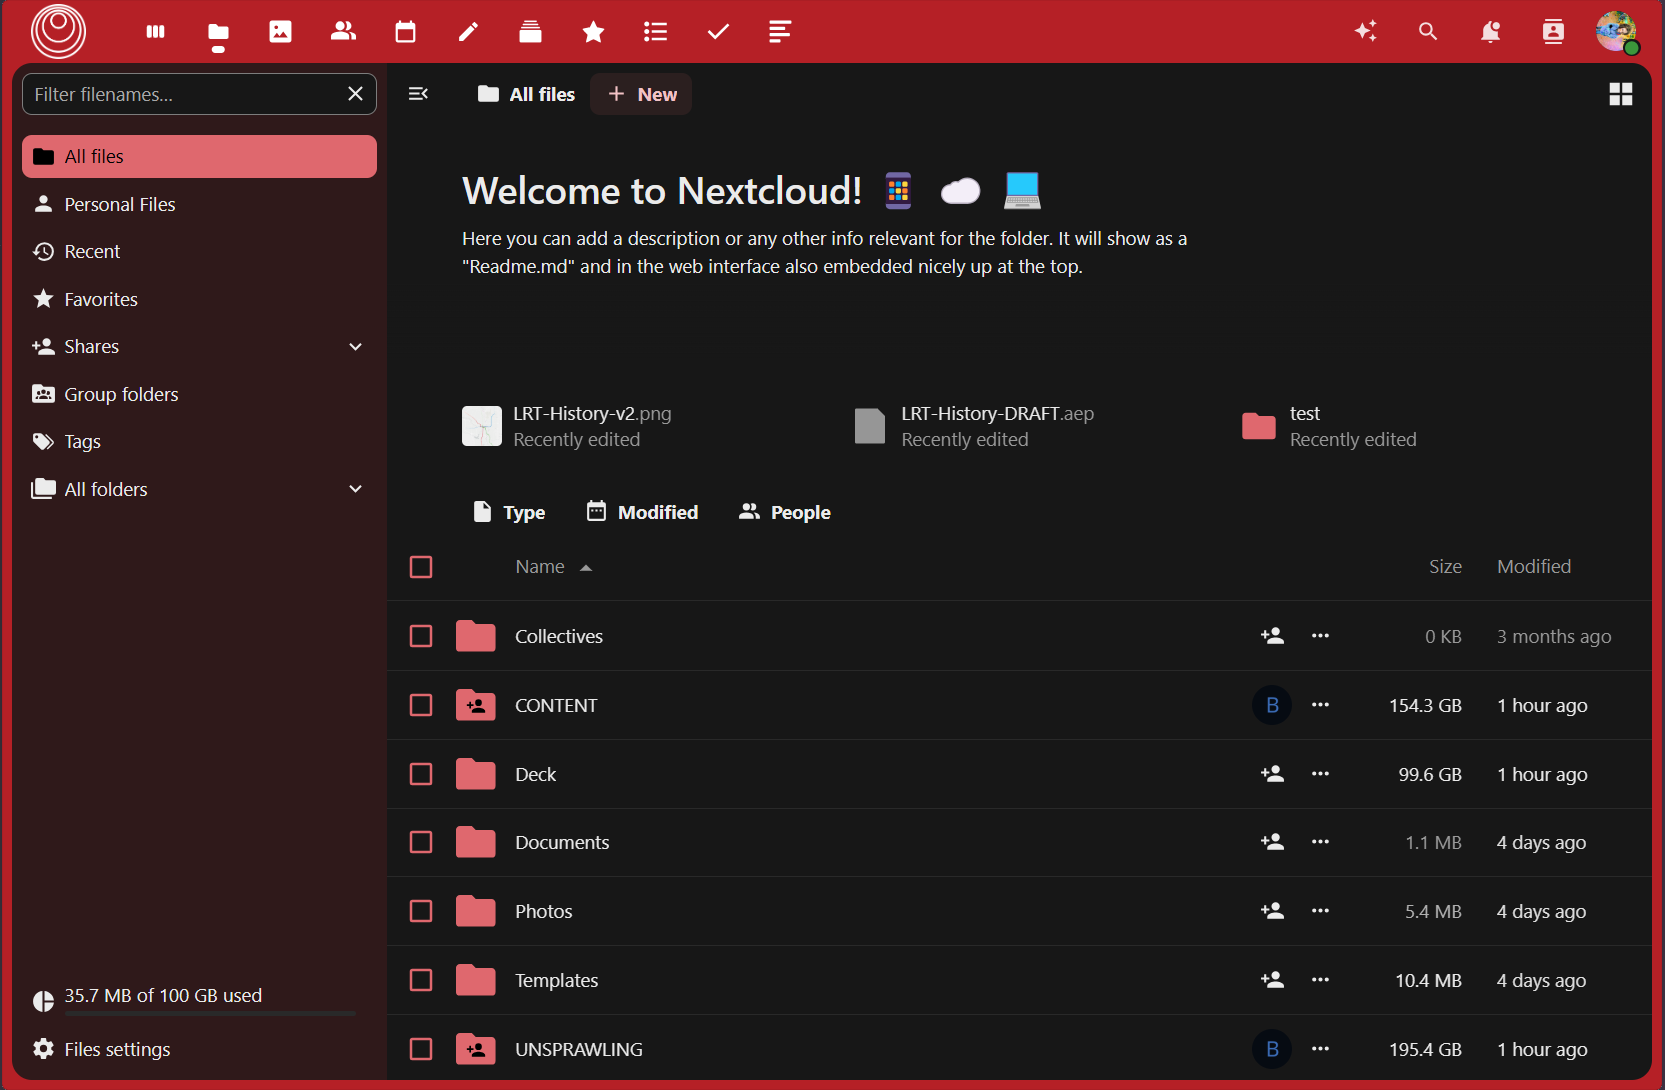
From this page, every file on the cloud is accessible.
As of January 5th, 2025, there is no formal organization scheme for files, however one will be created soon.
For now, projects related to content creation (specifically Podcasts, Long-form videos, and Short-form videos) are found under the CONTENT\<PODCAST/SHORTS/VIDEOS> folders.
Each project has its own sub-folder under these folders.
To upload a file, simply select the “+ New” button at the top of the page to upload files to the folder currently opened.
After the file(s) have been uploaded, exit the Files tab and open the “Deck” tab.
This will open a new page:
As you can see, on the left side of the page, there is a list of “boards” to choose from - one board for each committee, and a personal board. For most content-related things, select the "Content & Social Media’ board.
Each board can be treated like a bulletin board. For every project, initiative, and resource, a card is added to the board that can contain things like text, to-do lists, assignees, and most importantly for us, files.
Moreover, the cards are organized by where they are in the content-creation pipeline. Projects which are being written will be under the “Writing” column, projects being recorded will be under the “Recording” column, etc.
If the project which you’d like to attach a file to has a card on the board, simply click it to open the card - otherwise, create a new card using the icon next to the column that you wish to add the card to. For example, if you wanted to add a video which you just finished recording, click the “rectangle-with-a-plus-sign” icon to the right of the “Recording” column to add your card.
Once the card is selected, The following pop-up will appear:
Open the “Attachments” tab:
Next, select “Share from files.” THIS IS DIFFERENT THAN IN METHOD 1.
This will open a new prompt to select a folder or file from the cloud:
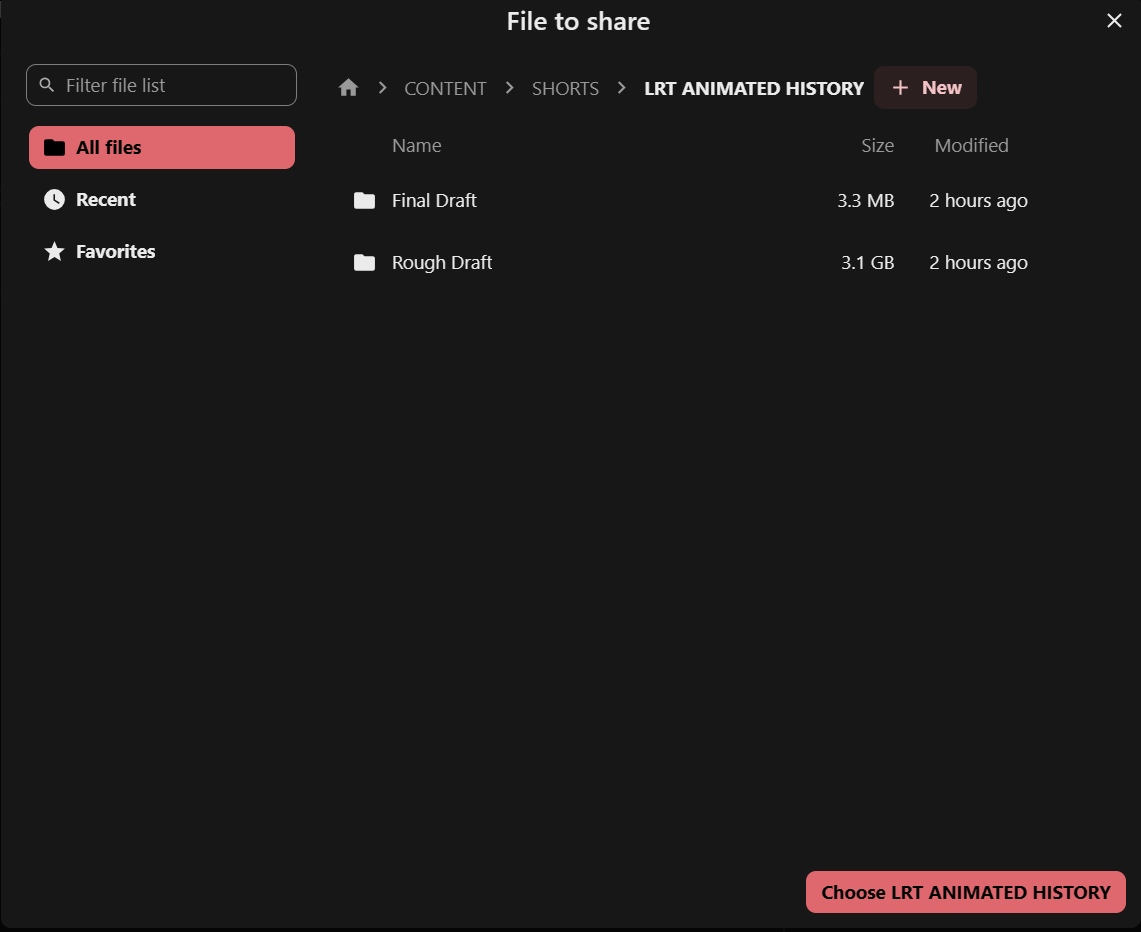
Navigate to the file(s) which you have just uploaded and select “Choose <file/folder name>”
Once you do so, your file should appear under the attachments tab!
You have successfully uploaded a file to the cloud!
Method 3 - Uploading files using the Nextcloud App
On Desktop (Windows)
If you haven’t already installed the Nextcloud Desktop App, please refer to How to install Nextcloud Client on your desktop and come back.
On Windows File Explorer, you should see “Nextcloud” on your sidebar:
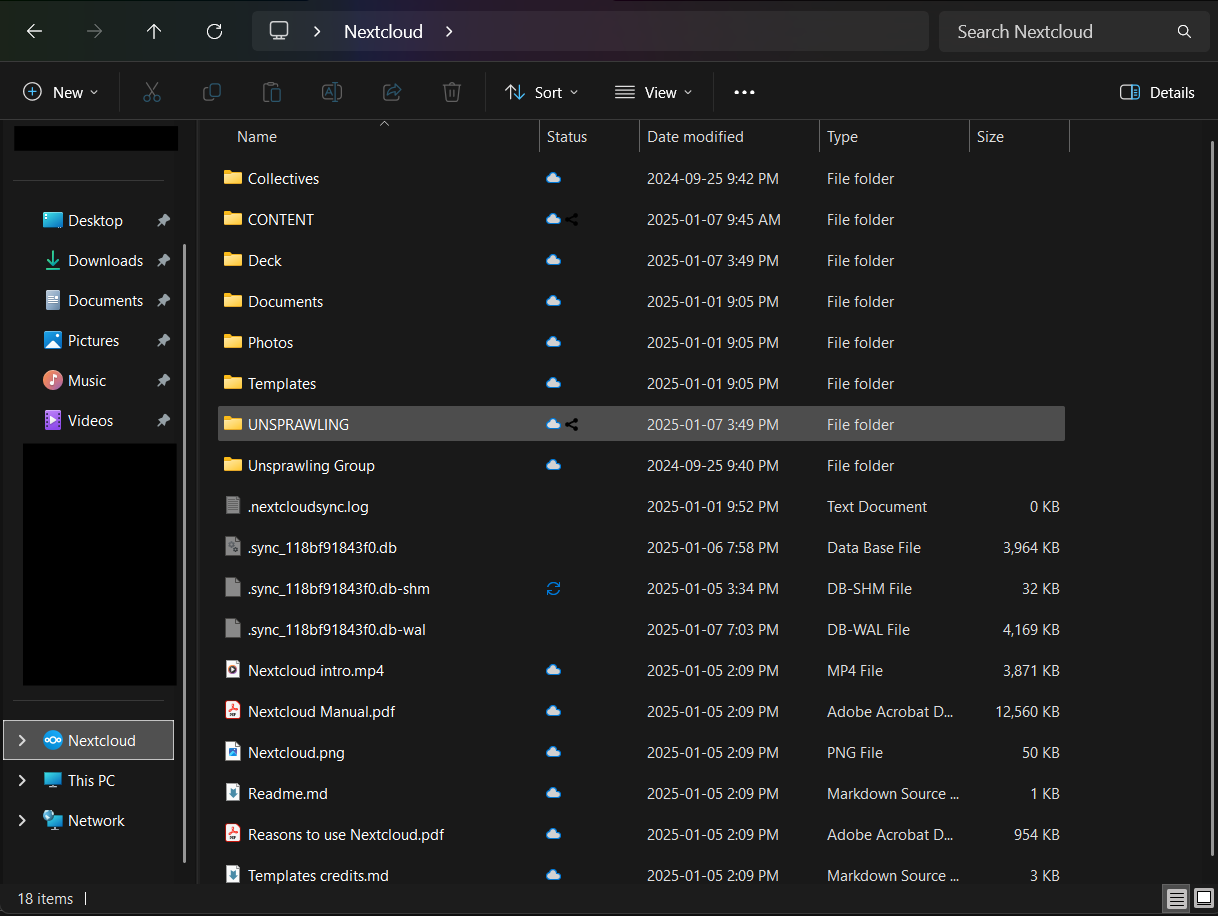
It’s as simple as moving files from a folder on your PC to here!
As of January 5th, 2025, there is no formal organization scheme for files, however one will be created soon.
For now, projects related to content creation (specifically Podcasts, Long-form videos, and Short-form videos) are found under the CONTENT\<PODCAST/SHORTS/VIDEOS> folders.
Each project has its own sub-folder under these folders.
On Desktop (Mac)
WORK IN PROGRESS Note from @gianni: I don’t use Mac, so I’ll need some assistance here.
On Desktop (Linux)
WORK IN PROGRESS Note from @gianni: I don’t use Linux, so I’ll need some assistance here.
On Mobile
WORK IN PROGRESS